Are you ready again to party with us this Friday ??Last week we had a lot of awesome recipes and DIY projects linked up!!(Be sure to check out the features below and pin it ) and this week we are expecting a lot more.So, what are you waiting for ??Go click the blue button below and link your beautiful projects and recipes.


Show Sahana some love by dropping by her Facebook, Pinterest, or Twitter.

Thanks for joining us this week for our party. We know it's going to be pretty fantastic Pintastic!
First, let's meet the hosts:  Deanna from Gloriously Made Pinterest, Facebook, Twitter
Alli from An Alli Event Pinterest, Facebook, Twitter
Ruth from Captain America & His English Rose Pinterest, Facebook, Twitter
Jamie, Kerry, Lucy from Coffee With Us 3 Pinterest, Facebook, Twitter
Deanna from Gloriously Made Pinterest, Facebook, Twitter
Alli from An Alli Event Pinterest, Facebook, Twitter
Ruth from Captain America & His English Rose Pinterest, Facebook, Twitter
Jamie, Kerry, Lucy from Coffee With Us 3 Pinterest, Facebook, Twitter
Deanna from Gloriously Made Pinterest, Facebook, Twitter
Alli from An Alli Event Pinterest, Facebook, Twitter
Ruth from Captain America & His English Rose Pinterest, Facebook, Twitter
Jamie, Kerry, Lucy from Coffee With Us 3 Pinterest, Facebook, Twitter
What we've been up to this week:
Alli's Projects
Coffee With Us 3's Projects

Deanna's Projects
Ruth's Projects
Labor Day Celebrations
The Cataldo Pie Escapade Part 1
The Cataldo Pie Escapade Part 2
Trust in the Lord + Printables

Every week we will also have a fabulous guest co-host!
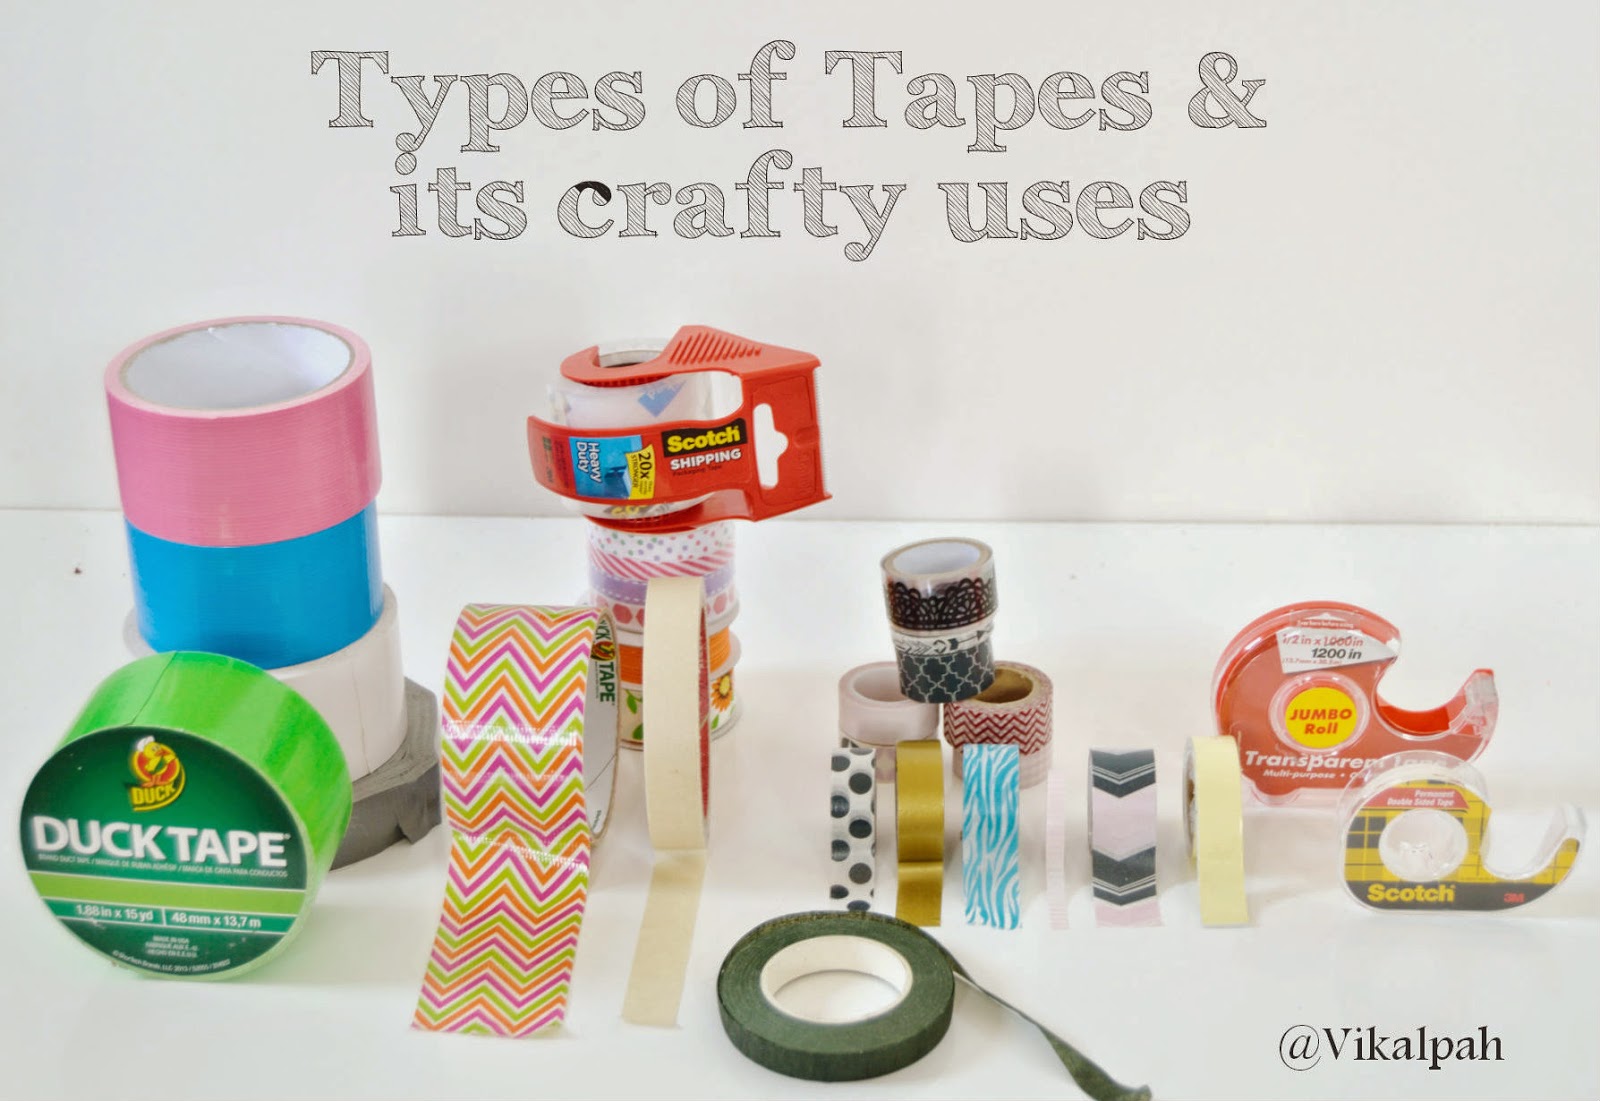
This week's co-host is Sahana from Vikalpah. Her blog is spreading smiles through crafting. Vikalpah means variety in Sanskrit. Sahana likes experiment and get creative with a variety of different crafts. Check out her 3 ways to bring your digital photos to real life.
****If you'd like to be a guest co-host please fill out this form. Spots available for late fall or winter!
Now on to the Party!
This is a super relaxed party! You show up with your fabulous posts and we pin every single one! We only ask one thing from you- pin the features!


Please re-pin from these links and not this collage, so the pin will go straight to the featured post. Thanks!
Pineapple Crumble by Spindles Designs by Mary & Mags
Latitude & Longitude Wall Art by Home Made Interest
Homemade Freezer Biscuits by Ten at the Table
How to Use Picmonkey to add Color to a Black & White Picture by Just a Touch of Crazy
Sweet & Citrus Baked Acorn Squash by My Cooking Spot

- By linking up, you give coffeewithus3.com, cataldolife.com, gloriouslymade.com, anallievent.com, or any co-host permission to feature your post on social media and our blogs using a photo, title, and link to your site. Proper credit and links will be given to you.