Thursday, April 30, 2015

Mother's Day giveaway

Hello Friends !!! Its been a long time since I hosted a giveaway and I am very excited to be hosting this giveaway along with 13 beautiful ladies.Mother's day is coming up and to celebrate that we are giving away $140 e-gift card to one lucky winner.Come and join the fun. Rules are mentioned below. One great thing about this giveaway is -If you are a winner, you get to chose the gift card from the list of shops and not specifically one shop. So what are you waiting for?? 

MLA - Tammy Creative K Kids - Tammy
Tammy from My Life Abundant and Tammy from Creative K Kids have gotten together with a few of our bloggie friends to have a giveaway!
Posts600
 We are so excited to be giving away $140 in cash prizes for Mother's Day to one lucky reader. The prize will consist of $140 in gift cards. The winner will choose the gift card(s) you want. Please choose a gift card(s) which comes from an online store. EX: Amazon, Target, Walmart, Macy's, Kohls, etc. You may ask for more than one gift card(s), but must add up to $140.
Now its time to meet our wonderful co-hosts who have made this giveaway possible.
Mother's Day {Giveaway} Co Hosts
Starting at the top row we have:
Tricia of The Good Mamma | Leticia of Desafio in the City | Audrey of That Recipe | Christie of Sparkles of Sunshine | Laci of Sequins in the South | Sahana of Vikalpah | Zan of Flourishing at Home | Katie of The Ramblings of an Overtired Mama | Terri of Our Good Life | Camille of Chicken Scratch n Sniff | Kim of The Resourceful Mama | Christine of Where the Smiles Have Been
Please stop by and say hi to these wonderful ladies and their blogs.
The giveaway will end midnight on Thursday, May 8th, a few days before Mother's Day. You will have 48 hours to respond to the email claiming the prize. If we don't hear in 48 hours, we will choose another winner. The giveaway is open to anyone over 18 years of age. a Rafflecopter giveaway
Good Luck and Happy Mother's Day,


Wanna make your own Mother's Day card to your loving mom??.Check this post.


Friday, April 24, 2015

DIY Nursing Pillow & 2 ways to sew pillow cover

I am going on vacation to India next month, and I asked my friend(She is blessed with a girl on 1st week of April) what she wants from USA. She said she wants bobby pillow and I said "Why to buy ?? I will make it for you"And so here it is.


Materials required :

1 1/2 yard of solid cotton for pillow form 
1 1/2 yard of  printed cotton for pillow cover
Stuffing (approximately 32 ounces)
Matching thread
Hand sewing Needle
Marking chalk
Straight pins
Sewing machine
Iron
Fabric scissors

Steps to make pillow form :

Step 1: Wash ,dry and press the fabric before sewing to prevent the fabric from shrinking.Download and print the paper pattern.I used the pattern made by Marzi from Made by Marzipan.You can also use your own pattern.Arrange the pattern as mentioned and glue the pattern pieces together.

Step 2: Fold the fabric in half and place the pattern on the fold. Pin the pattern on to the fabric and cut the fabric. Repeat the same to cut another piece.


Step 3:Now pin the fabric pieces together and sew along the corners with 1/2 inch seam allowance leaving around 4 to 5 inches gap to fill the stuffing.


Step 4: Snip the seam allowance all around curve to avoid wrinkling of finished seam when the fabric is turned inside out. Be careful not to snip the seam.Turn the right side out and press.


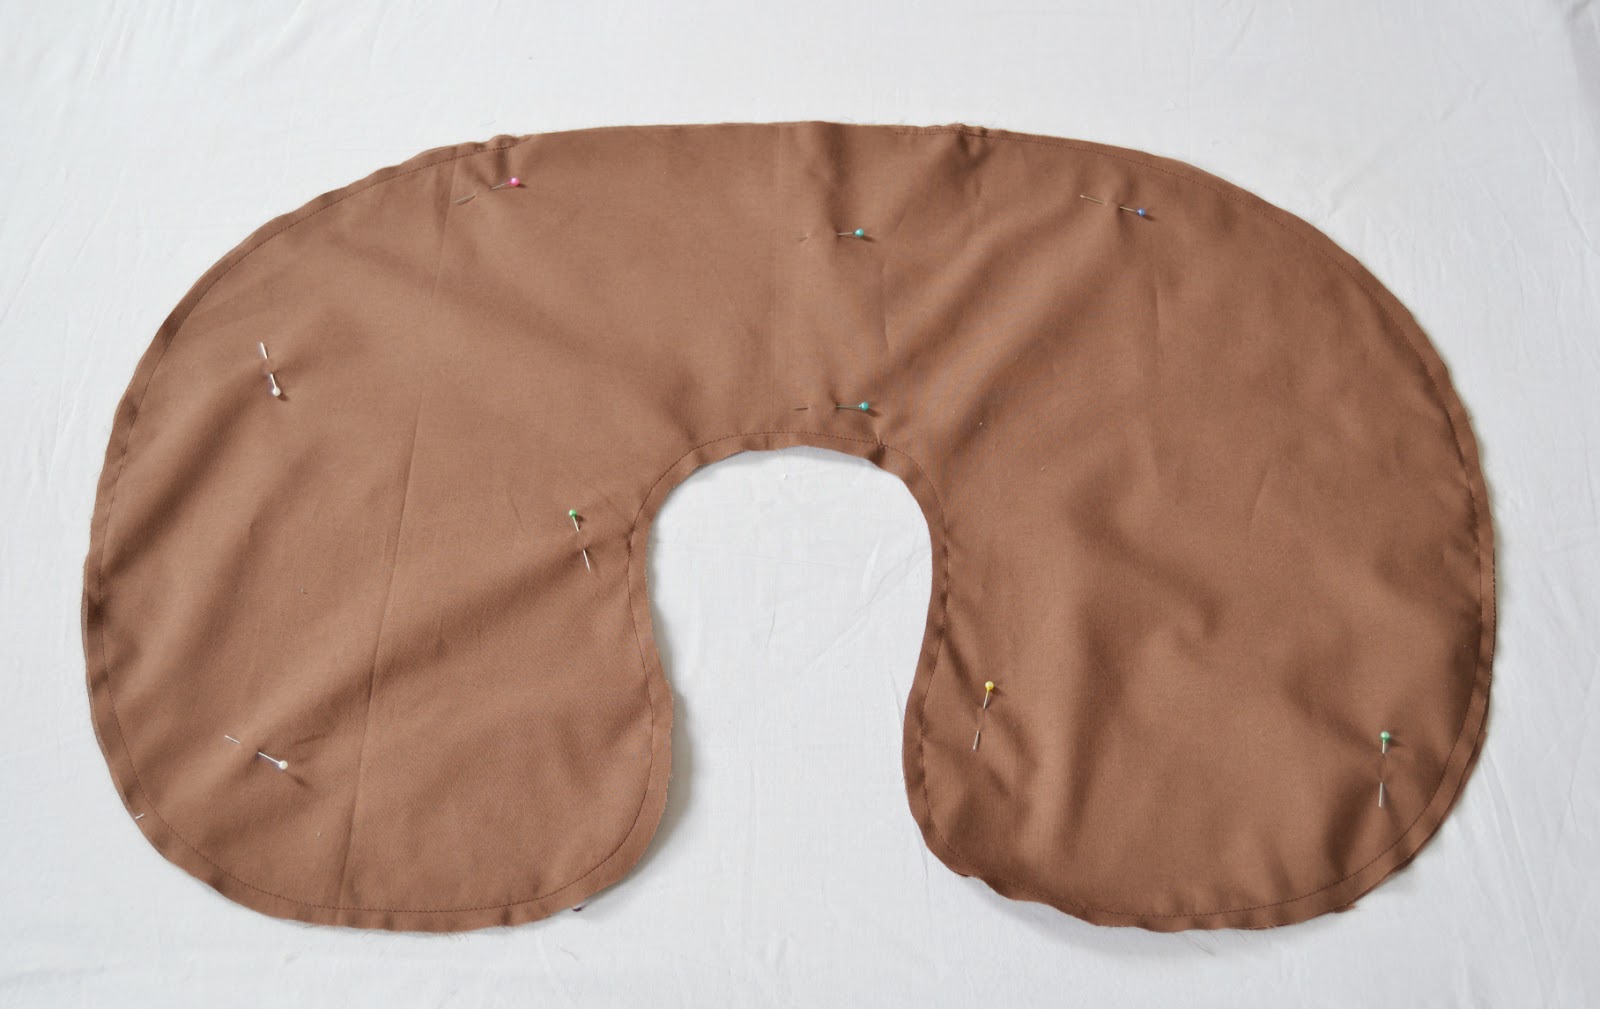
Step 5: Fill the pillow with stuffing . You should make the pillow form firm so fill it in such a way that, it is difficult to slip in your hands inside the stuffing.


Step 6: Thread the hand sewing needle and make a ladder stitch to close the opening of the pillow form and your pillow form is done.
I have showed the gray pillow form as brown thread in the brown fabric is not visible.


2 ways to sew a pillow cover:
There are many ways to sew a cover for the bobby pillow. Here I am showing 2 ways to sew a pillow cover . You can use the pillow form and make your own pattern by tracing the outline and adding 2 inches all around or use the pattern made by Marzi from Made by Marzipan.

1) Zipper :

Step 1: Wash, dry and press the fabric. Download and print the pattern or make your own.

Step 2: Fold the fabric in half and place the pattern on the fold. Pin the pattern on to the fabric and cut the fabric. Repeat the same to cut another piece.

Step 3: Now pin the fabric pieces together and sew along the corners with 1/4 inch seam allowance  leaving the opening for zipper around 18 to 22 inch depending on the length of the zipper.I pinned the zipper to the fabric and then marked the opening, as shown below.


Step 4: Snip the seam allowance all around curve to avoid wrinkling of finished seam when the fabric is turned inside out. Be careful not to snip the seam.Turn the right side out and press.

Step 5: Change the foot to zipper foot. Take the seam allowance of the opening on one side of the pillow cover and place it on one side of the zipper .Pin it together and sew .Once it is done , repeat the same for the other side of the zipper.If you end up with a small opening on the edges of the zipper , sew it along with the seam allowance on the inside to close the opening.And that is it :) . You cover is now ready. These steps may sound easy to you, but it was quite a challenge for me as I have not worked with zipper much.If you are like me, don't worry you will do it !! If I can do it then you can surely do it !!If it sounds intimidating, I have another way to sew the cover , here is how.


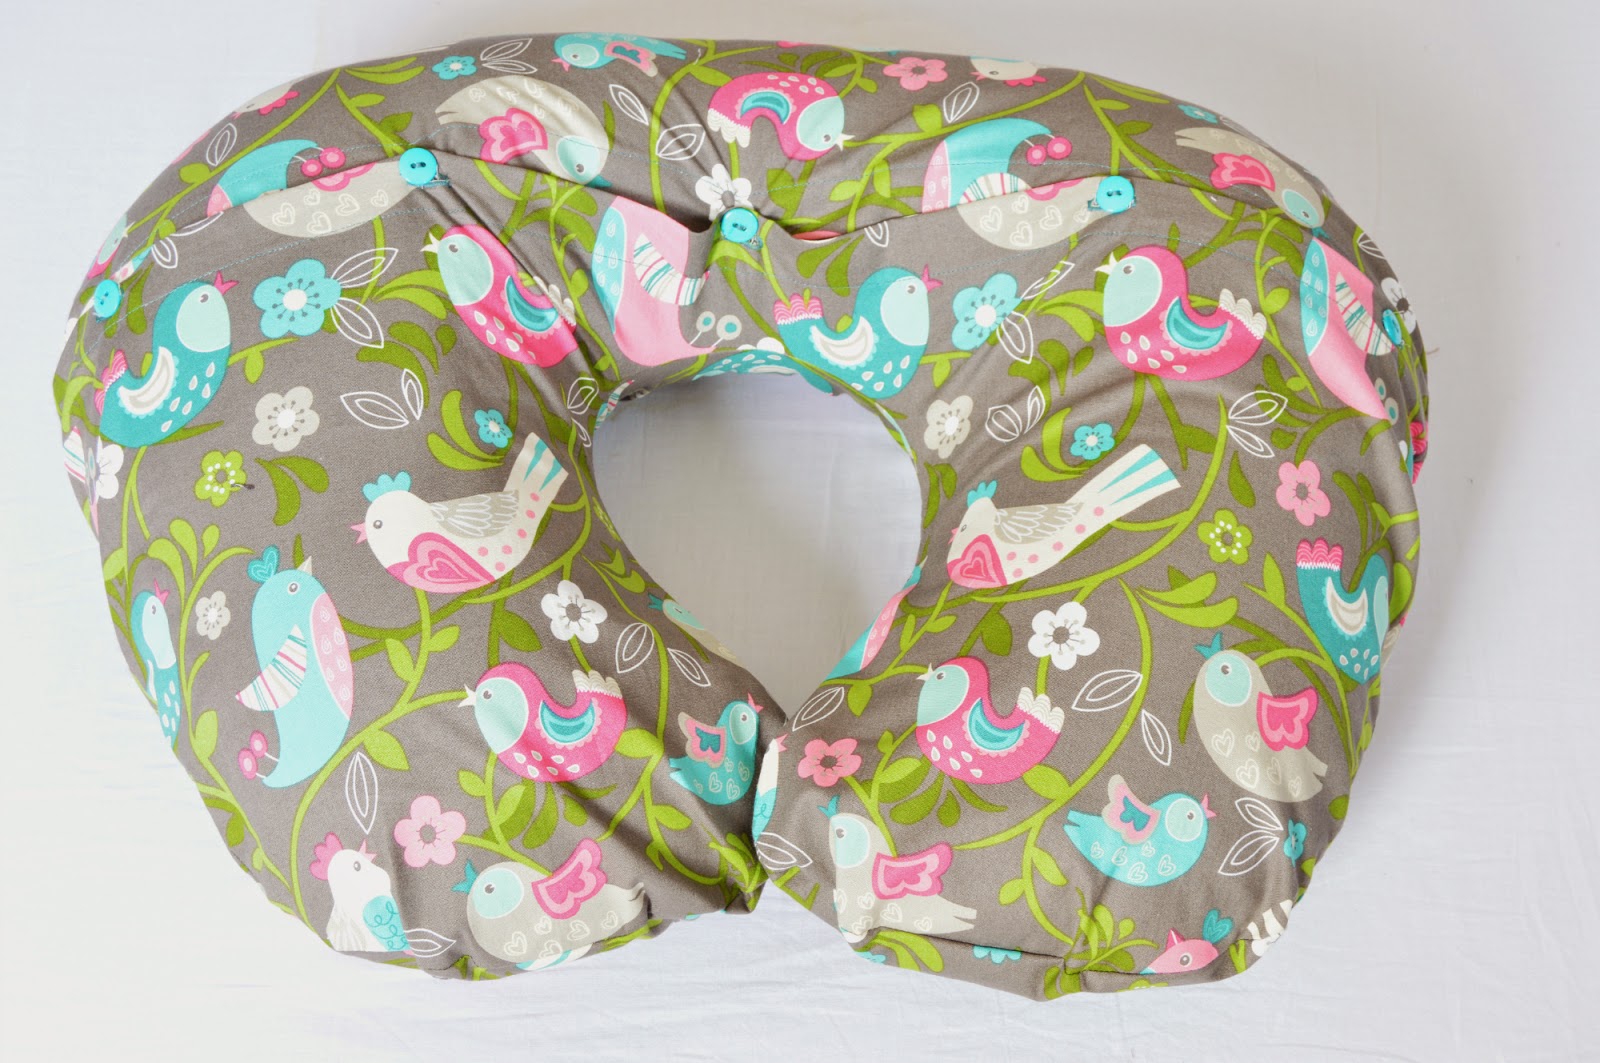
2) Pillow cover with button closure.

This cover is little different from the previous one in such a way that , this has a back opening instead of zipper. This back opening can be left as such or you can use button & buttonhole as closure or snap buttons or velcro. I will leave that to your choice.I am going to show you the button & buttonhole method.

Step 1: Wash, dry and press the fabric. Download and print the pattern or make your own.

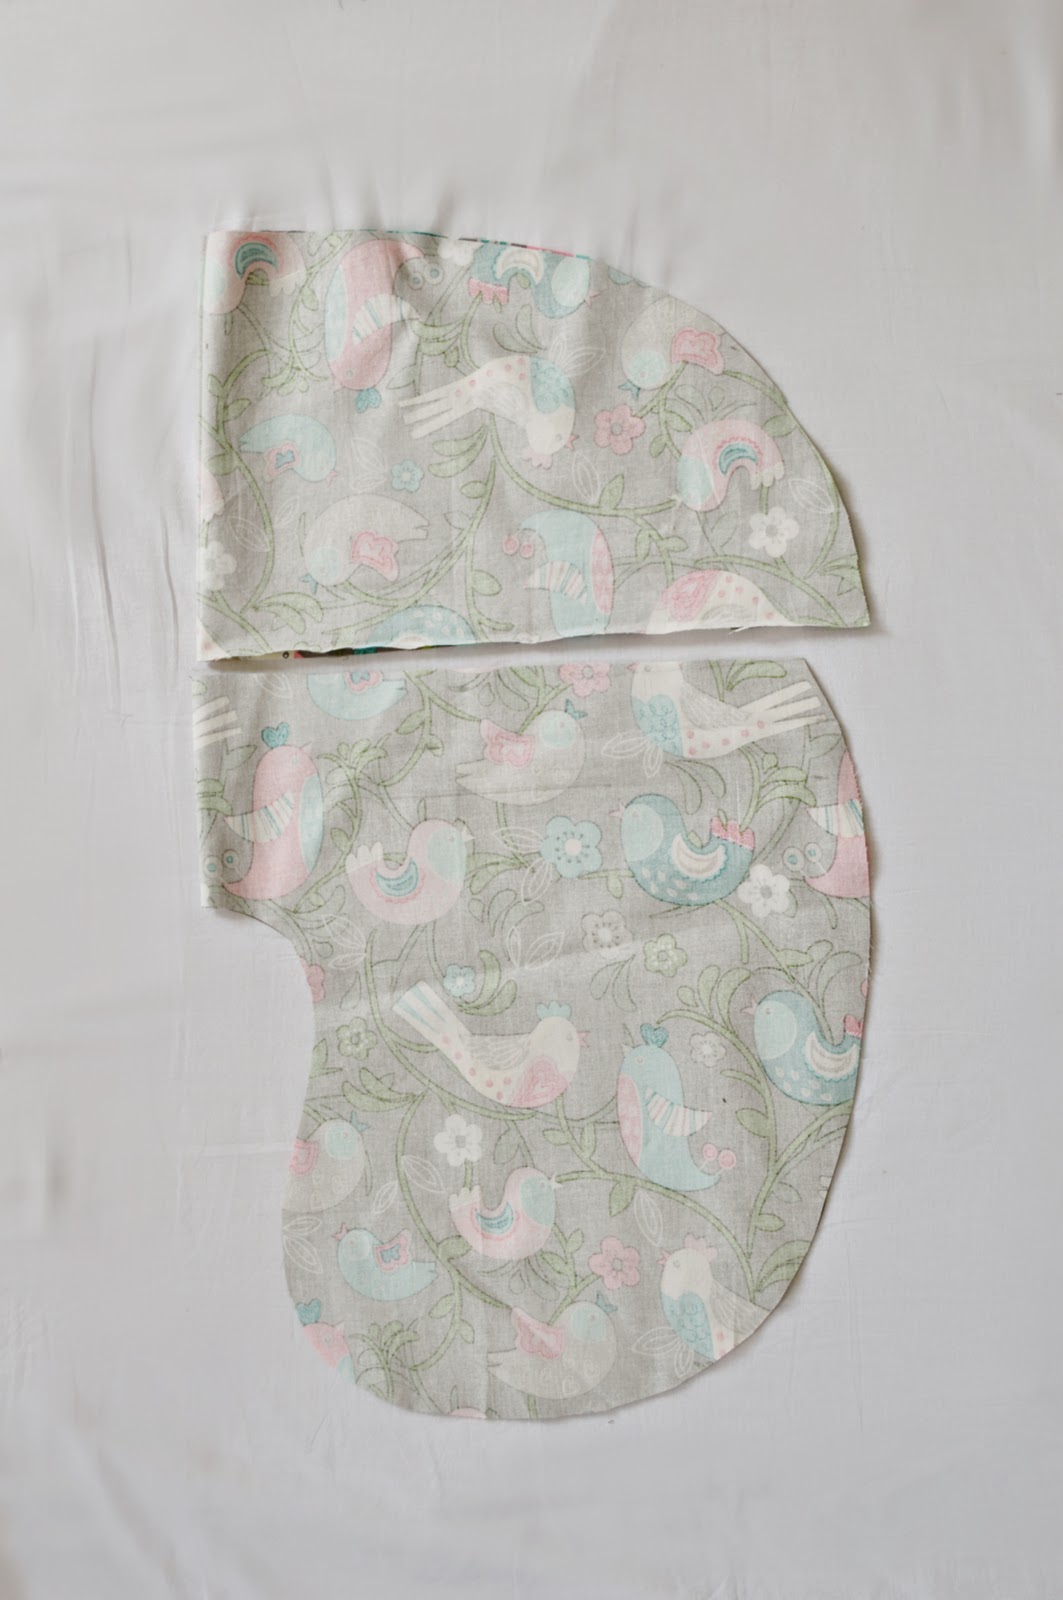
Step 2:Decide where you want the opening.Draw a line and cut the pattern into two. Now add one inch to the top of the pattern for overlapping. And then 1 1/2 inch more for folding and stitching the buttonholes.So add 2 1/2 inch in total for the top and 1 1/2 inch for the bottom of the pattern.You can make a new pattern with these measurements or add these measurements with the pattern pinned to the fabric and cut the fabric.I did the later one and here is how the fabric pieces look.


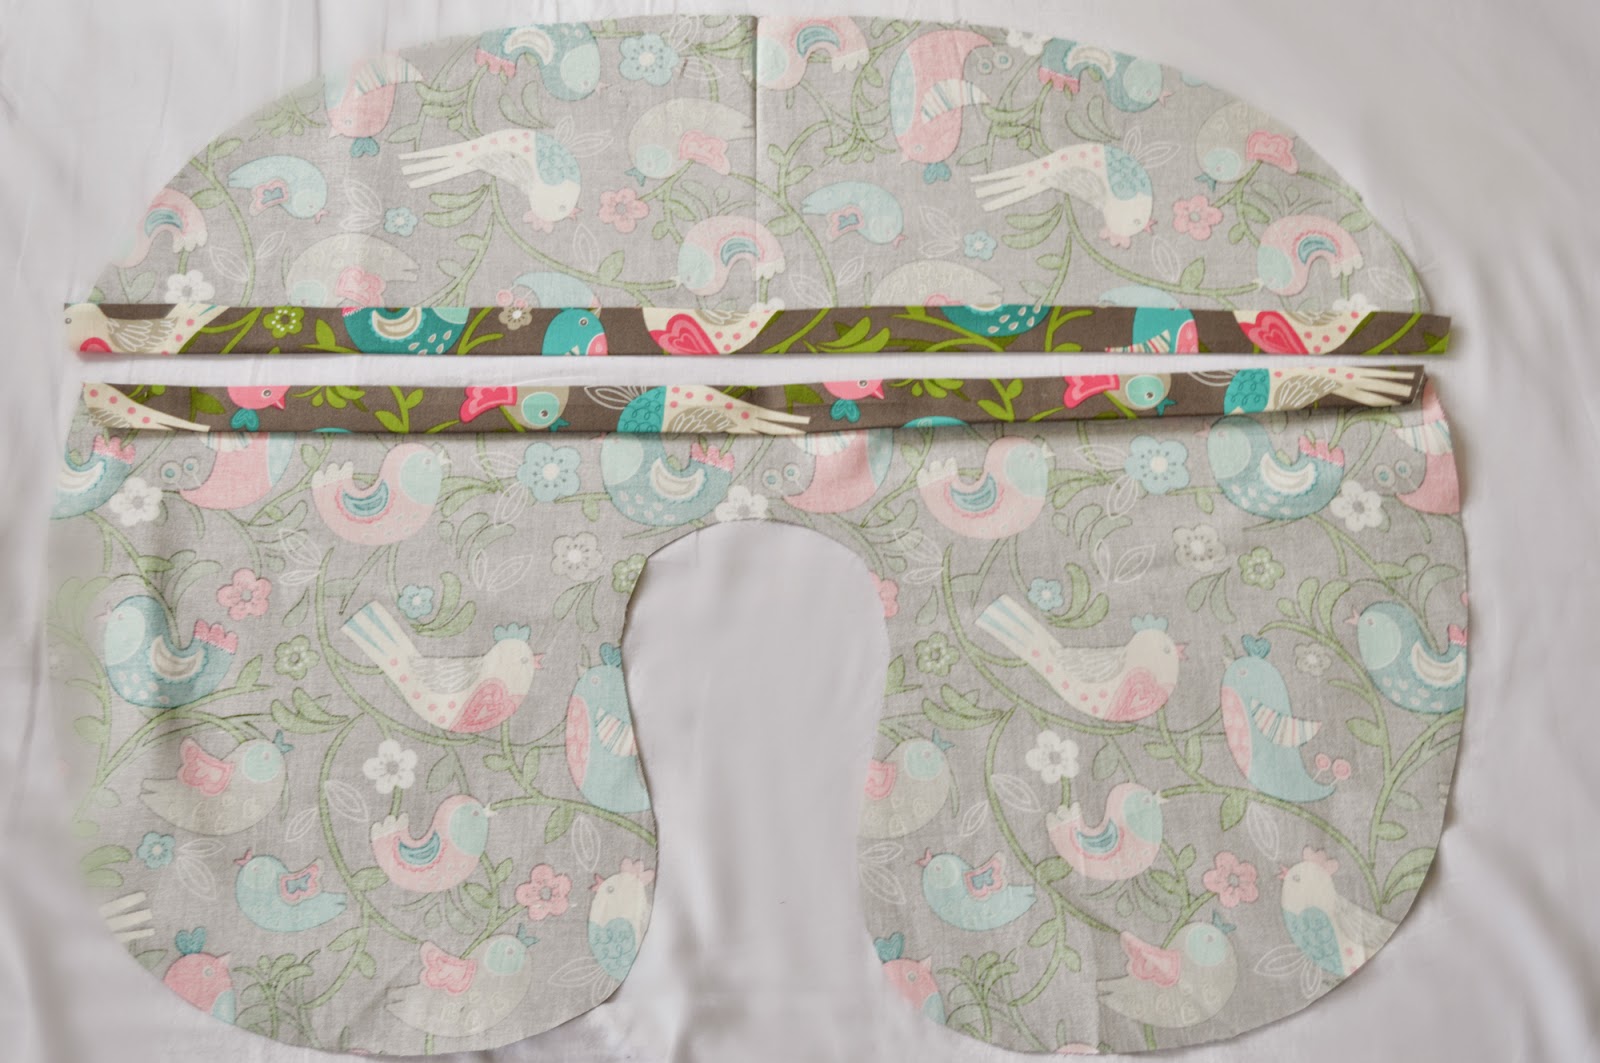
Step 3: Fold,press and sew the hem of both the pieces. Mark the places for buttons and button holes. Change your foot accordingly and stitch the buttons and buttonholes. (Let me know if you need help of this. My machine sews buttons as well as buttonholes and so I changed the feet and stitched the buttons and buttonholes according to the instructions in the manual.)


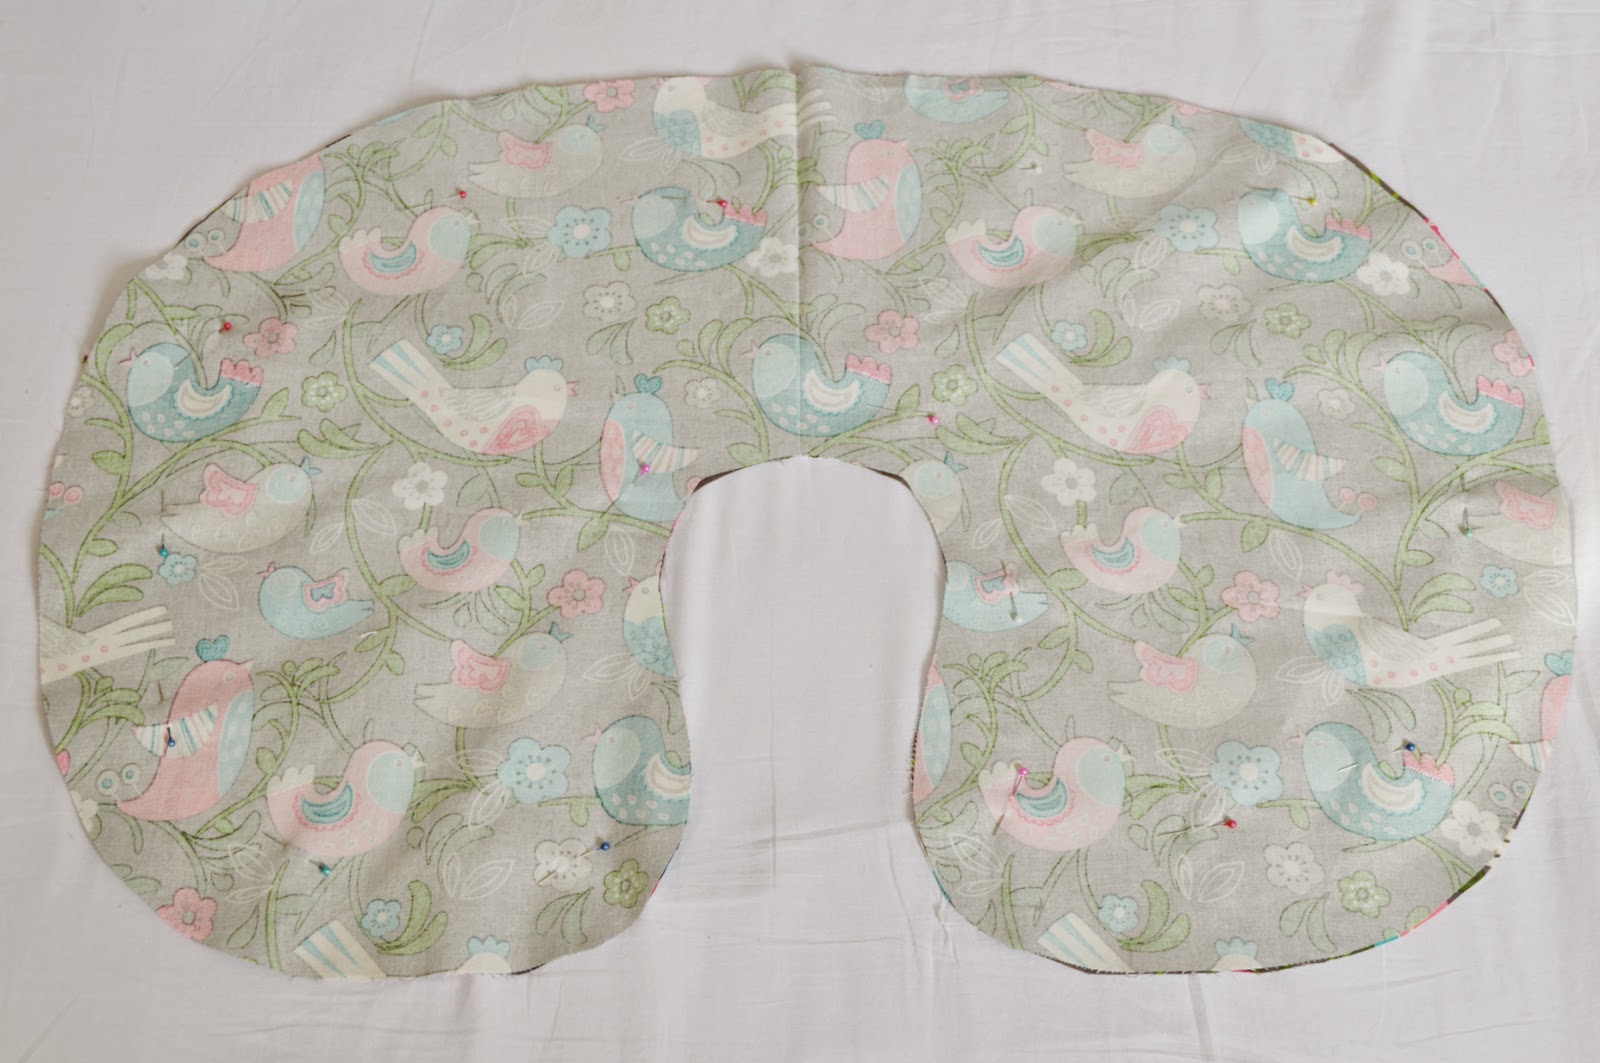
Step 4: Place the two pieces in such a way it overlaps and place the front piece with right sides facing each other.Pin the fabrics together and sew along the corners with 1/4 inch seam allowance.Turn it inside out and your cover is now ready.!!I felt this cover was little tight in the center compared to the zipper one so if you want you can add extra few inches(1/2 to 1 inch) to the bottom panel of the back piece when you are cutting.


I preferred buttons over velcro because my sister was telling me that velcro tends to attract lints and other things while washing so it is better to use buttons.And I also felt the same.But as mentioned earlier, I will leave that to your choice. :). If you prefer to leave it as such I would suggest you to plan the opening near to the top edge instead of middle and also increase the overlapping inches( From 1 inch to 1 1/2 inch) to prevent the opening from opening (If that makes sense, you got me ,right?? ;)).

 Hope you enjoyed this handmade nursing pillow.Let me know if you have any doubts, I will try to clarify it as soon as possible. What do you think about this tutorial? Leave them in the comments below or mail me at vikalpah@gmail.com. As always I will be happy to hear from you. 

Want more ideas for handmade gifts for your mom-to-be friends?? Check this DIY Nursing Cover.


Friday, April 17, 2015

DIY Flower vase at home - An upcycle project

Has flowers started blooming where you are ? In new york, finally temperature has started to increase and we are waiting for the blossom to occur. While we are waiting for it, I thought I would show you how to up cycle a found item at home to turn into a beautiful vase to put your colorful flowers for showcase. Also ,don't throw away those old nail polish during spring cleaning ,you can use them to beautify your vase. Let us see how.


Materials Required :

Any bottle you wish to use as vase (I am using sparkling water glass bottle)
Spray paint in color of your choice
Nail polish in variety of colors
Gold paint or enamel or spray paint

Step 1: Wash and dry the bottle you wish to up cycle. Spray paint them in the color of your choice . I used a white spray paint to mask the blue color of the bottle.


Step 2: I thought of adding, marbling effect to the bottle but somehow my nail polish did not work to bring out that effect. So, I decided to add mosaic effect .To do this, simply use your nail polish brush to draw a small patch of rectangle and repeat this in variety of colors. 


Step 3: Once the nail polish is dry, paint the remaining area in the gold paint .Mask the nail polish area with a newspaper and masking tape or painters tape and paint the remaining area in gold paint. (I used gold enamel paint).Here, I imagined the vase like a wall with half of mosaic and the remaining is just empty plain gold wall.But , you can even take inspiration of mosaic patterns and mimic them in your vase using various nail polish colors. Once the gold paint is dry, your vase is ready to hold the beautiful spring blossoms.


Add drops of nail polish thinner or nail polish remover to make your thicker and old nail polish to use them in the DIY projects as shown above.Why to throw them when there are lot of uses ,like this one?;) What do you think about this up cycle? Have you done any flower vase by yourself or you always buy them at stores? Will you give this a try ?? .Share them in the comments below.As always I will be happy to hear from you. 

Click here , to see how I transformed a Tropicana bottle into a vase and also to make cupcake liner flowers from last year. 


Friday, April 10, 2015

How to make leather bracelet for men

After making the Welcome Sign using Wood burning tool, I was thinking of what else I can do with the wood burning tool.Then I came to know ,It can also be used with leather to burn designs.I experimented with leather bands and was surprised with the results. So, I ended up making these leather bracelets for men. Do you want to make awesome bracelets for you handsome boy friend or if you are guy reading this, do you want to make one for you or your bro? Keep reading to learn how !!


Materials Required :

Leather band - 7 to 8 inches (I got mine at Michael's)
Wood burning tool - Universal nib ,Special nibs(optional)
Waxed cotton cord
E6000
Pen (Optional)
Pliers (Optional)


Step 1: Burn the word on the leather band
 First trim your band to fit your wrist if it is too lengthy for your hand. The band which I had was around 8 inches and so I trimmed it to 7 inch to suit my husband's wrist. I decided to write a word(Such as "Hope",Believe","Fearless","Brave","Cool",etc.Whichever suits you or the man you are making) in the middle and decorate with some designs on each side. But If you don't want any words and just design you can very well jump to the next step.
Write the word you want in the middle, in my case it is "Hope". I used a pen to write the word in the center of the band and turned on the burning tool to heat up. Use Universal point for writing letters. Also you can use the trimmed piece for trial to know how the leather reacts with the wood burning tool. What I observed is, you need to be quick when using the tool on the leather . It was so smooth and it felt like I was using a marker pen for writing on the leather. It burns so quickly compared to wood and so plan ahead before starting the project. Once the tool heated up, burn the word using the tool.


Step 2 : Burning the designs

For the design, I used special nib such as a diamond design with stripes and a tear drop shaped nib. But , if you don't have any particular design nib you can always draw the design using pen and burn it with universal nib.
Using pliers remove the universal nib and change it to diamond shaped nib and allowed it to heat up. Once done, make a trial in the trimmed piece(As shown) to know how long you have press and the angle you have to hold the tool to get the whole design ,etc. Plan the design and burn it on the leather band, I just lined up the diamond design on both side of the word which I burned in the previous step.
For the second design, I used the tip of the tear drop nib to create a triangle shaped design on both the sides of the leather band. 


Step 3 :  Wrapping the ends
  • Take 20" length of waxed cotton cord , make a loop at the end of the leather band in such a way that the loop should be formed at the end of the band and the shorter length of the cord is facing towards you(Or towards the other end).Dab a small amount of glue (E6000) for extra security.


  • Wrap around the loop using the longer end for eight times. Pass the longer end of the cord into the loop and pull the shorter end of the cord to tighten the loop.Trim the excess at the shorter end and leave the long end of the thread as such.
  • Repeat the same on the other end of the leather band.


Step 4 : Making square knot for sliding closure
  • Join both the threads from the wrapped ends and lets name it as M (Middle). To make square knot take a thread of length around 15" and make a overhand knot around the M threads. Now you have equal length of threads on the sides of M. Let's name the Left thread as L and the right thread as R.


  • Take L and go over the M and under the R.Now take R and go under the M and L in the middle and Over the L as shown and tighten the knot to form the first half of the square knot. Repeat the same step by starting on the R thread first.


  • Take R and go over the M and under the L. Now take L and go under the M and R in the middle and Over the R as shown in the picture and tighten the knot to complete the first square knot. Repeat both steps to create a chain of square knot and complete it with a overhand knot. Secure the end with a dab of glue and trim the thread.


  • Now make a simple knot at the end of the M threads to prevent the sliding of the threads into the knot and the closure is complete.Voila!! The bracelet is now ready to wear. If you don't want to make the sliding closure by yourself ,get a metal clasp that fits you leather band and glue it at the ends for the closure.


What do you think about this bracelet ?? Will you make one for your man or guy friends or brothers?? What other things have you done with your hands for your husband or any men in your life ?? Share them in the comments below. As always I will be happy to hear from you.