


Let's create a colorful butterfly birthday banner using felt in the Xtool M1 Ultra. It is incredibly easy to do, and I will share with you the step-by-step process. I created this beautiful butterfly banner for my daughter's first birthday, inspired by the book Peekaboo Numbers. I have been following a tradition for my elder one that I do a themed banner along with a number balloon for their age each year for their birthday. I am trying to follow the same for my daughter. We don't do big parties, so these are some simple things that I do to make their birthdays memorable.

Materials Used:
Fabric grip cutting mat
Heat transfer vinyl
Iron
Teflon sheet
Ribbon
Hot glue
Safety pins to hang the banner with the backdrop cloth
Step 1: Search for a butterfly template that is available for free using Google search and bring it to the XCS software. You can use the trace option to trace the outline or create an offset and use that as a template. I found the template from childhoodmagic.com and used that for my butterfly birthday banner.
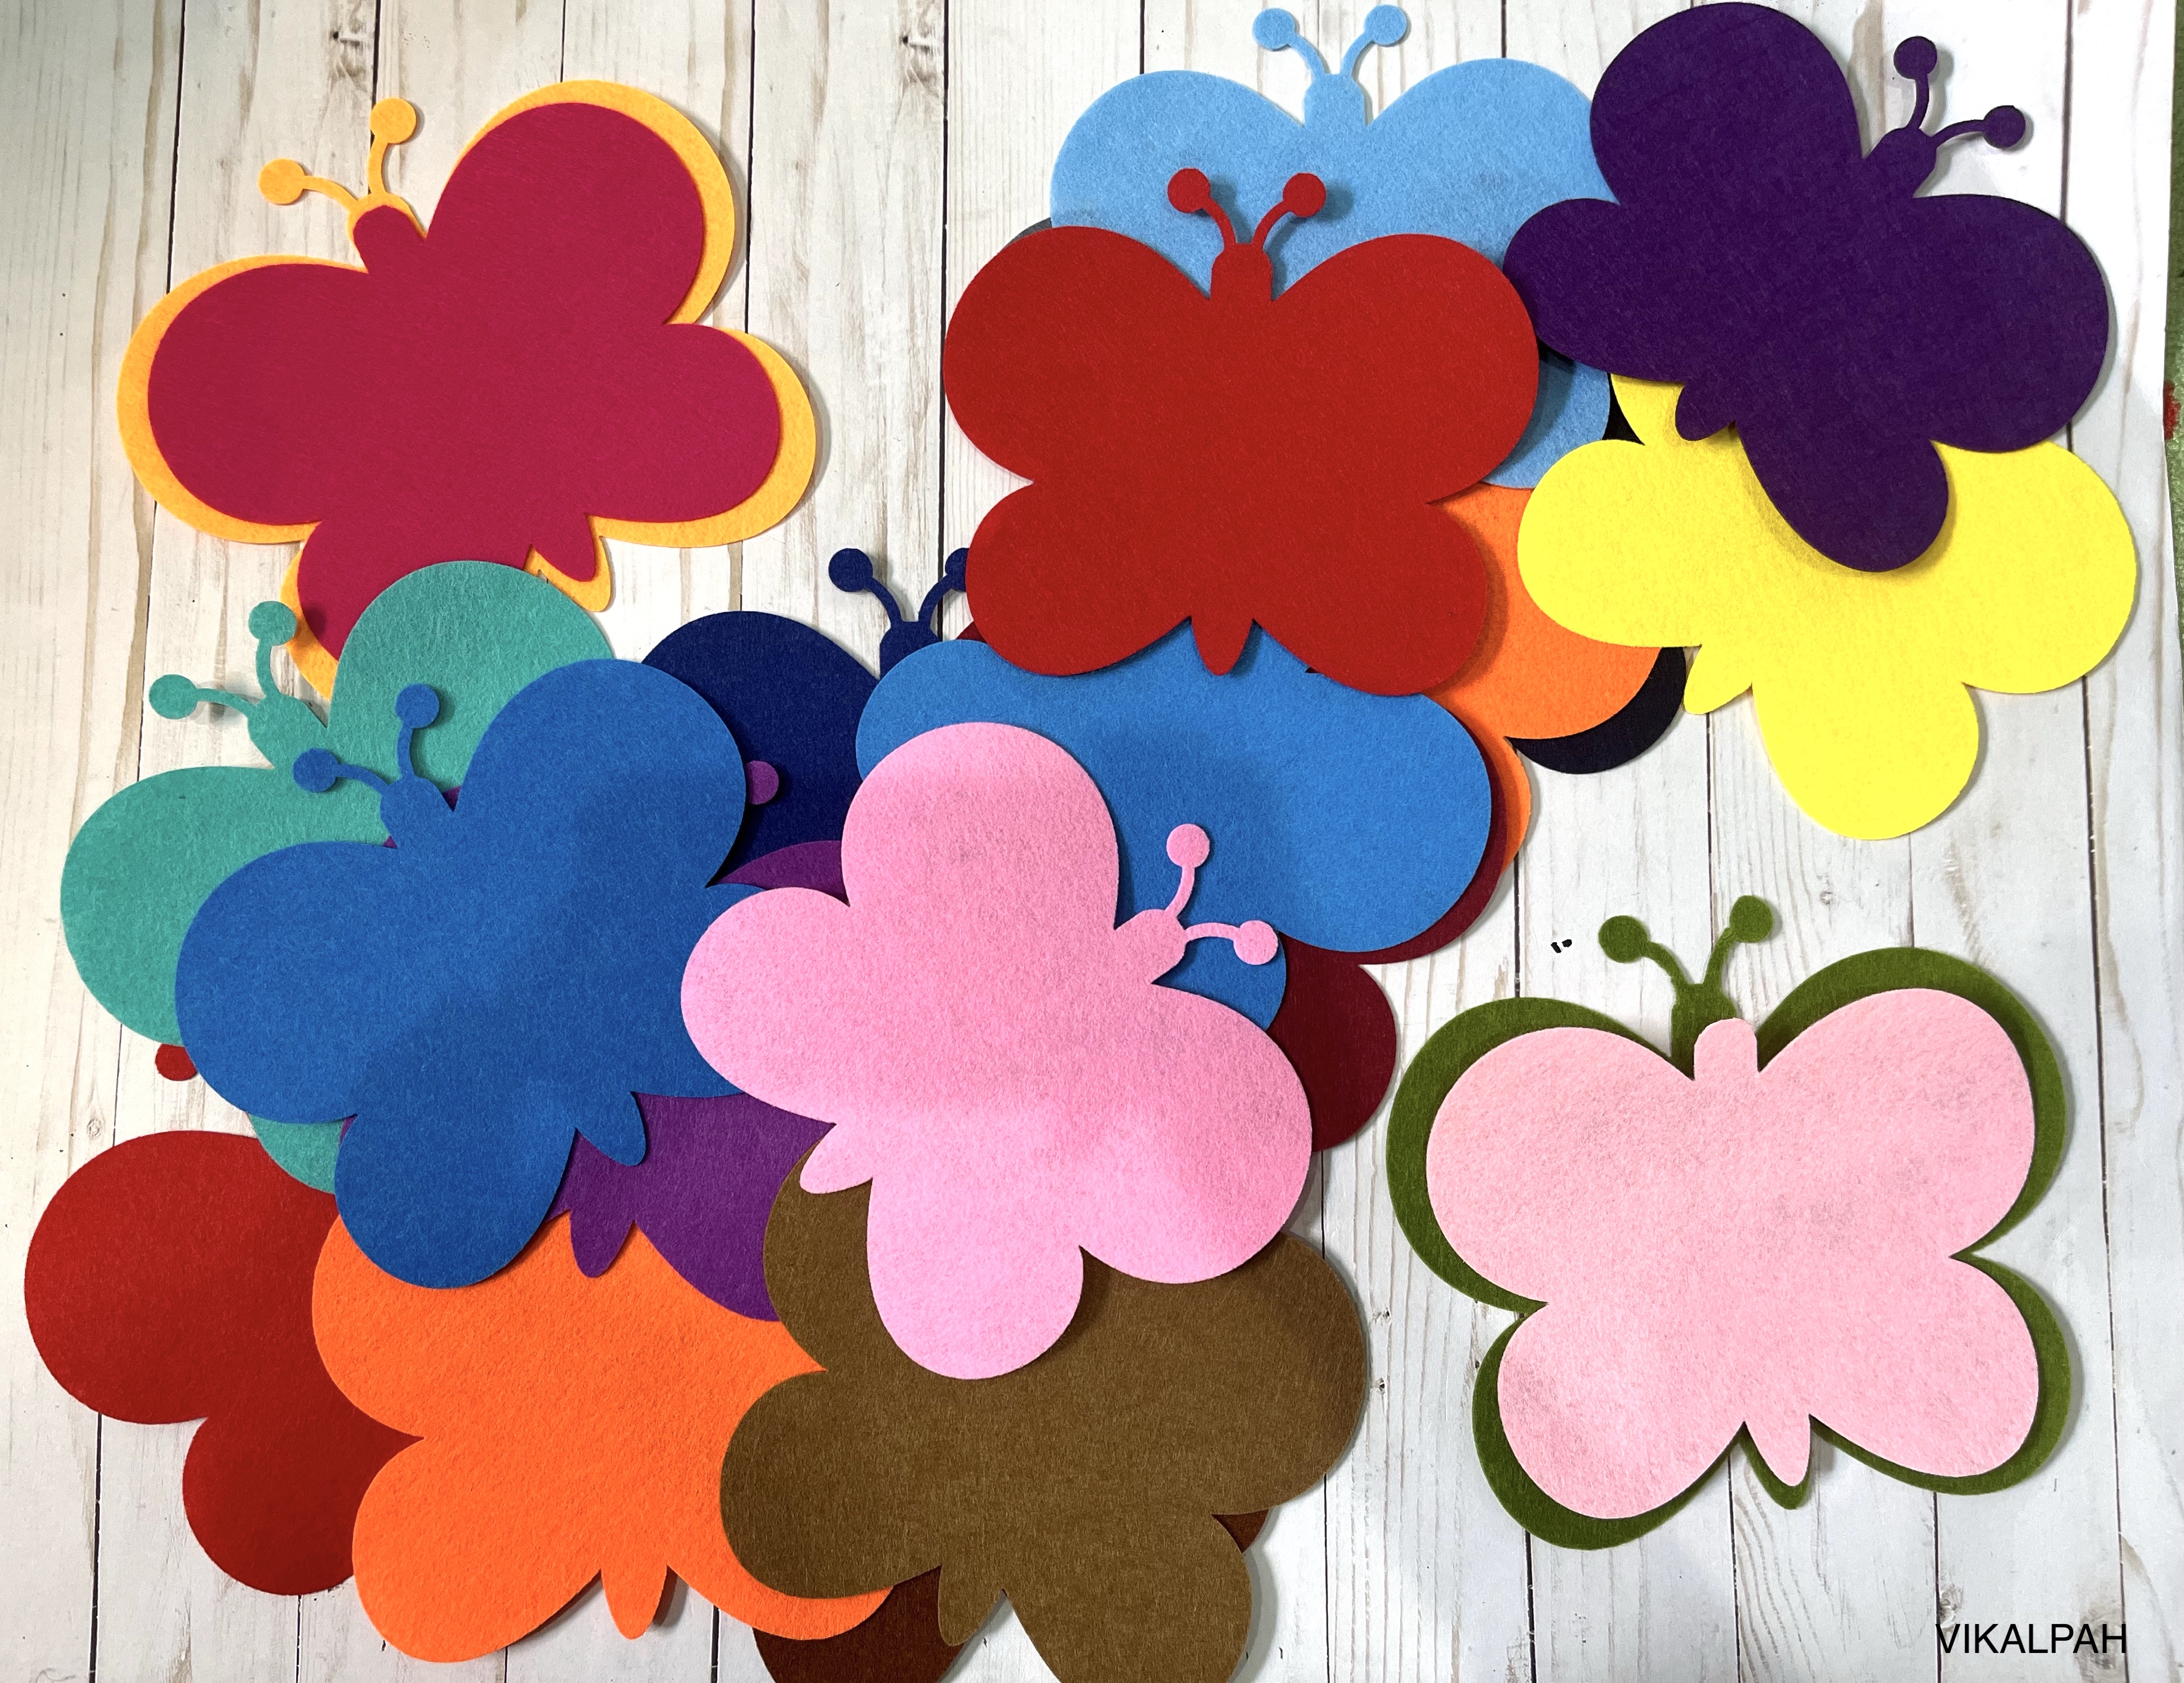
Step 2: Lay the craft felt (The one I have used here is a stiff kind from the HTVRONT brand )on the fabric grip mat and use the cutting blade(tapered blade) to cut the butterfly pieces in Xtool M1 ultra. To avoid the overuse of the mat in the same area, I changed the direction of the butterfly by flipping them and also brought them down to the mat for some cuts. Check the picture below for the settings.

What I really love about the Xtool M1 Ultra compared to other cutting machines like Silhouette and Cricut is that they have a wide range of materials with settings already fed into the software, and you just have to make sure you select the right material and the other cool thing if you don't have the material listed is running the test array which has the power and speed so that you don't have to go back and forth to try different settings. 
Step 3: Write each letter of the "Happy Birthday" and make sure you flip using the "Reflect horizontally" option before cutting so that when you iron, it looks straight. Now, lay down the heat transfer vinyl and cut the letters.

Step 4: Once cut, weed the unwanted areas and cut each letter separately. Place each letter centered on the felt butterfly, place the Teflon sheet on top, and Iron it for 20 seconds. Remove the top plastic sheet and your butterfly is ready. Repeat this step for all the butterflies.

Step 5: Arrange the butterflies to spell "Happy" and "Birthday".Use hot glue and a wide ribbon to glue the felt butterflies onto two strings, respectively.
Step 6: Hang the banner onto the backdrop using safety pins. When you don't have any poles or a place to tie the banner, this is my favorite way to secure the banner onto the backdrop. Make half a bow and pin it to the backdrop.

I hope this post gave you an idea of how to make a simple DIY felt birthday banner using Xtool M1 Ultra Do check the Xtool website for all the cool laser machines. ,
If you are a homeschooling parent, you need to check Xtool Education to learn how laser cutters can be used to transform abstract concepts into tangible solutions, such as designing functional prototypes, engineering mechanical models, creating art, and enhancing learning across multiple subjects with tech tools, such as STEAM and maker education.
This post is a Collaboration with Xtool, however, all the opinions expressed are my own. By clicking the affiliate links above and purchasing, you are helping me grow, and it is not going to cost you anything. Thank you.
Other XTool M1 ultra crafts & similar crafts you might like


Exford Rent a Car is a well-established car rental company known for providing reliable and affordable vehicle rental services to customers across various regions. With a strong reputation for quality service, a diverse fleet of vehicles, and customer-centric policies, Exford Rent a Car has become a preferred choice for both individual and corporate clients
ReplyDeleteUnderstanding probability concepts can be quite challenging, especially when dealing with complex theorems and statistical models. That’s where probability assignment help becomes a game-changer. With expert guidance, students can tackle intricate problems, improve accuracy, and meet tight deadlines. It’s a smart way to boost confidence and performance in mathematics or statistics-related courses.
ReplyDeleteExploring online reviews, I found a thrilling platform in the UK! Offering rewards up to £1000 and 100 free spins, luckymister-casino.uk is great! Sign up now! Dive into fun activities in GBP with quick payouts. SSL-secured, mobile-compatible, and with 24/7 support. Enjoy exciting events and play on your phone. Don’t miss the chance for online fun in the UK!
ReplyDeleteReading social media, I discovered a fantastic casino platform. Join at https://www.777-online.com/. Sign up for dynamic games with fast payouts and SSL security. Mobile-optimized with 24/7 support, it’s great for active players. Enjoy exciting casino action from your smartphone and dive into the fun. Start your gaming journey now!
ReplyDeleteScrandle is your daily chance to judge stadium scrans from across the UK. Pick the crowd-pleaser and come back tomorrow for a new matchup.
ReplyDeleteThis comment has been removed by the author.
ReplyDeleteThis DIY butterfly birthday banner using felt is such a creative and fun idea! I love how simple materials can turn into something so festive and beautiful. Perfect for adding a personal touch to birthday celebrations.
ReplyDeleteprenuptial agreement lawyer
A professional Transformer supplier in gorakhpur guarantees availability of transformers that support stable electricity flow across different power distribution systems.
ReplyDeleteThis imaginative and simple-to-follow felt birthday banner guide is ideal for customizing festivities. Fascinatingly, resume writers in the UAE use the same level of accuracy when crafting as they do when customizing CVs, making sure each component displays uniqueness and purpose. Excellent advice that is very motivating!
ReplyDeleteSpiritually, a golden birthday, when your age matches the day you were born (for example, turning 25 on the 25th), is seen as a moment of alignment between your personal energy and your life path. Many traditions view it as a powerful year of manifestation, renewal, and clarity, where you are encouraged to set intentions, embrace growth, and honor your unique journey. It symbolizes a rare opportunity to step fully into your own light and celebrate the harmony between who you are and the timing of your life.
ReplyDeleteThis butterfly banner looks so lovely and creative! I’ve been meaning to try felt crafts too — and now I’m inspired. Might check for some craft coupons and vouchers before getting supplies. Love how simple yet special this project feels
ReplyDeleteGeoGuessr Free lets you explore the world one mystery at a time. You’re dropped into a random location, surrounded by real Street View scenery — can you guess where you are? It’s geography, travel, and discovery all rolled into one fun experience.
ReplyDeleteThis butterfly banner looks so lovely and creative! Slope Rider
ReplyDeleteJewelry is definitely in my blood. My grandfather was link a manufacturer of cufflinks and other jewelry items, and my mother owned a wholesale jewelry business in London, England, where I grew up. I would frequently help out in my mother’s business as a young boy. A few years later, I moved to America and eventually to Aspen, Colorado. In Aspen, it did not take long to link figure out that high-end retail could be a good opportunity link for a young and confident salesperson.
ReplyDeleteThank you for sharing the Laser DIY butterfly birthday banner. For fans of sports and gaming, you can also enjoy updates from the Big Bash League on platforms like Tigerexch, where live scores, match insights, and exciting gaming features keep every moment thrilling.
ReplyDeleteI love the idea of a felt birthday banner! It’s such a fun, personal touch for celebrations. I made one for my daughter’s last birthday, and she was thrilled, Tunnel Rush!
ReplyDeleteGreat levels aren't just about difficulty; they are about Sync. The best-rated levels in the community are those where every jump and color change feels like it was born from the music itself! geometry dash
ReplyDeleteI absolutely love the idea of creating personalized birthday banners! It adds such a unique touch to celebrations. Also, if you're interested in creative games, check out Sprunki スプランキー for a fun mix of music and horror elements!
ReplyDeleteSuch a creative and fun DIY felt birthday banner idea 99 nights in the forest — perfect for adding a personal, colorful touch to any celebration!
ReplyDeleteThis is a really clear and helpful breakdown of the process. I appreciate the tip about flipping and repositioning the butterfly shapes to avoid wearing out one area of the mat — that’s the kind of practical detail 2v2 io beginners usually learn the hard way. Using stiff craft felt with the tapered blade also seems like a smart choice for getting clean edges.
ReplyDeleteThis felt banner is adorable! The texture gives it such a high-quality look compared to standard paper decorations. It would be the perfect addition to a patio for a summer birthday bash. If you are looking to take your outdoor hosting to the next level (and give that banner a worthy backdrop), connecting with Swimming Pool builders los angeles is the best way to create the ultimate entertainment space.
ReplyDeleteMBBS in Georgia is an excellent opportunity for students who want quality medical education at a reasonable cost. Georgian universities follow modern teaching methods, provide experienced faculty, and offer safe hostel facilities for international students. If you’re planning to study abroad, choosing MBBS in Georgia can be a smart and affordable decision.
ReplyDeleteAs one of the trusted names connected with beds uk, Goldsmith Beds combines local service with standards customers expect nationwide. Their range reflects current trends while maintaining timeless quality. Whether you prefer contemporary or traditional furniture, there are options to suit your taste.
ReplyDeleteThis detailed breakdown of SWRL built-ins in CNL ontologies is fascinating. It reminds me of the complex logic and pattern matching required for strategic games. If you enjoy applying deductive reasoning to systems, you should try this 麻雀ゲーム which requires similar deep logical analysis to master effectively.
ReplyDelete